A poke cake is a simple dessert that became popular in the early 1970s. The idea is very straightforward. You bake a basic sheet cake, press small holes across the top while it is still warm, then pour a sweet liquid or pudding mix over it. The mixture sinks into the holes and gives the cake a soft, rich texture.
Early versions used flavored gelatin mix. Over time, home bakers began using pudding, fruit fillings, condensed milk, and other creamy mixes. This gave the cake a smoother feel and a stronger flavor.
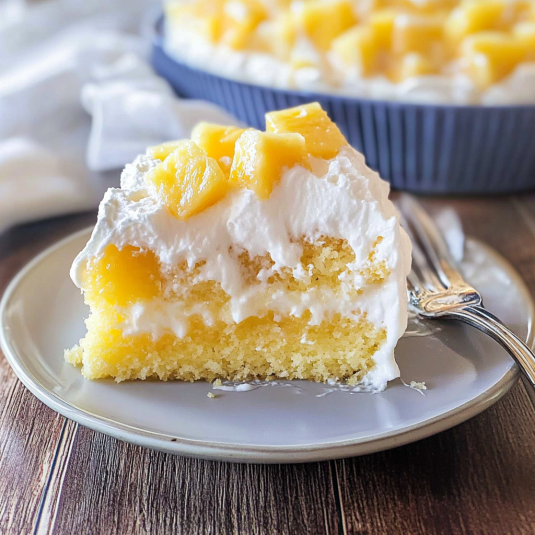
A pineapple poke cake follows the same process. The pineapple adds a bright taste that works well with pudding or condensed milk. The result is a soft cake with a steady pineapple flavor in every bite.
Table of Contents
Ingredients for the Perfect Pineapple Poke Cake (Layer by Layer)
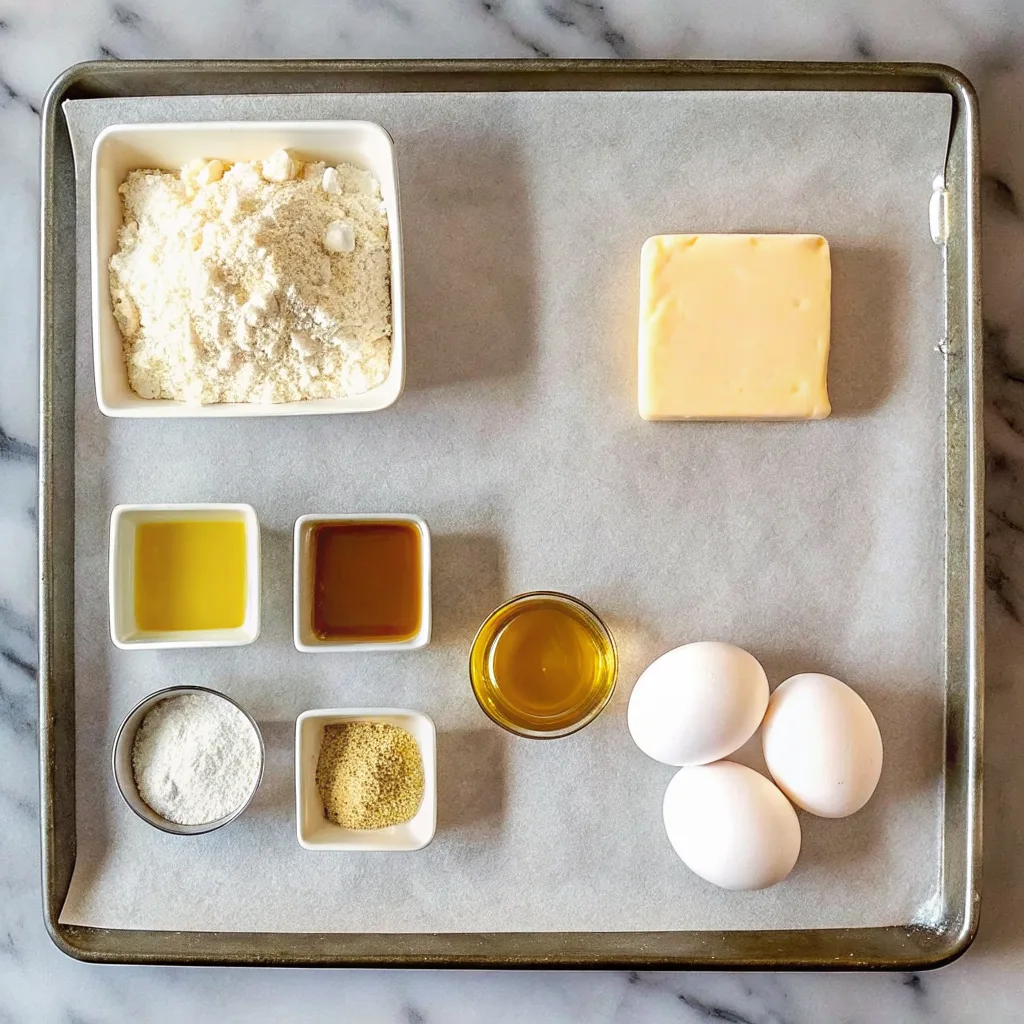
This cake works best when each layer is simple and clear. Breaking the ingredients into groups helps you see exactly what you need for each part of the recipe.
Cake Layer
This is your base. A yellow cake mix gives the cake a soft texture and a steady flavor that pairs well with pineapple.
- Yellow cake mix
- Eggs
- Oil
- Water
Filling Layer
You can choose pudding or condensed milk. Both give the cake a rich, moist center.
Pudding Option
- Instant vanilla pudding mix
- Cold milk
- Crushed pineapple with juice
Condensed Milk Option
- Sweetened condensed milk
- Crushed pineapple with juice
Topping Layer
The topping adds a light finish and balances the rich filling.
- Cool Whip or homemade whipped cream
- Extra crushed pineapple, drained well
Optional Additions
These can change the flavor or add texture.
- Toasted coconut
- Maraschino cherries
- Chopped nuts
- A little pineapple juice to boost flavor if needed
Step by Step: How to Make Pineapple Poke Cake
This section walks you through the full process in simple steps. Each part builds on the last to help you create a soft and moist cake with steady pineapple flavor.
Step 1: Bake the Cake
Prepare the yellow cake mix as directed on the box. Mix the batter until smooth, then pour it into a baking pan. Bake until the center springs back when touched or a toothpick comes out clean. Let the cake rest for a short time so the surface is warm but not too hot.
Step 2: Poke the Holes
Take the handle of a wooden spoon and press rows of holes across the top of the cake. Keep the spacing close so the filling can settle into every part of the cake.
Step 3: Mix the Filling
Choose your filling path.
For the pudding mix
Stir the pudding mix with cold milk until it thickens slightly. Stir in crushed pineapple along with its juice.
For the condensed milk mix
Combine condensed milk with crushed pineapple and juice until well mixed.
Step 4: Pour the Filling
Slowly pour your chosen filling over the warm cake. Let the mixture pull down into the holes and spread across the surface. Give the cake time to absorb the filling.
Step 5: Add the Topping
Once the cake cools, spread Cool Whip or homemade whipped cream across the top. Add a small amount of crushed pineapple if you like extra fruit on top.
Step 6: Chill and Serve
Place the cake in the fridge for at least two hours. A longer chill gives a smoother texture. Slice and serve once the topping is firm and the filling has settled.
Print
Pineapple Poke Cake
- Total Time: About 2 hours and 45 minutes
- Yield: 12 servings
Description
A soft and moist pineapple poke cake soaked with a sweet filling that settles into every slice, topped with cool whipped cream and bright pineapple flavor.
Ingredients
- Yellow cake mix
- Eggs
- Oil
- Water
- Instant vanilla pudding mix (optional)
- Cold milk (optional)
- Crushed pineapple with juice
- Sweetened condensed milk (optional)
- Cool Whip or homemade whipped cream
- Extra crushed pineapple, drained
- Toasted coconut (optional)
- Maraschino cherries (optional)
- Chopped nuts (optional)
- Pineapple juice (optional)
Instructions
- Prepare the yellow cake mix according to package directions and bake until a toothpick comes out clean.
- Let the cake cool slightly, then poke holes across the surface using the handle of a wooden spoon.
- For pudding filling: Mix instant vanilla pudding with cold milk until slightly thickened, then stir in crushed pineapple and juice.
- For condensed milk filling: Combine sweetened condensed milk with crushed pineapple and juice.
- Pour the chosen filling evenly over the warm cake, allowing it to sink into the holes.
- Let the cake cool completely, then spread Cool Whip or homemade whipped cream over the top.
- Add extra crushed pineapple if desired.
- Chill the cake for at least 2 hours before serving.
Notes
For best texture, pour the filling while the cake is still warm. Drain pineapple well before adding to the topping to prevent watery texture.
- Prep Time: 15 minutes
- Cook Time: 30 to 35 minutes
- Category: Dessert
- Method: Baking
- Cuisine: American
Nutrition
- Serving Size: 1
- Calories: 169
- Sugar: 12g
- Sodium: 90mg
- Fat: 10g
- Saturated Fat: 2g
- Unsaturated Fat: 8g
- Trans Fat: 0g
- Carbohydrates: 16g
- Fiber: 0g
- Protein: 3g
- Cholesterol: 56mg
Pudding vs. Condensed Milk: Choosing Your Poke Cake Filling

This section helps you pick the filling style that fits the texture and sweetness you want. Both options work very well with pineapple, but each one creates a different result.
The Pudding Method
The pudding mix gives the cake a smooth and creamy center. The texture is slightly thicker, and the flavor leans toward soft vanilla with steady pineapple notes.
Key points
- Creates a stable and creamy layer
- Gives the cake a lighter sweetness
- Ideal if you prefer a soft and balanced finish
The Condensed Milk Method
Condensed milk creates a richer soak that sinks deeper into the cake. This method gives the cake a style similar to tres leches. It tastes sweeter and has a softer, almost custard like feel.
Key points
- Adds deep sweetness
- Produces a moist and rich texture
- Ideal if you want a cake with strong pineapple flavor in every bite
Which One Should You Choose
Pick the pudding path if you want a mild and creamy style. Pick the condensed milk path if you want a bolder and richer finish. Some bakers prepare both versions to compare the results side by side.
Essential Variations and Unique Angles
These ideas help you adjust the cake to fit your taste or match a theme. Each option keeps the core idea simple while adding a fresh twist.
Cream Cheese Layer
A cream cheese topping adds a rich and smooth finish.
Mix softened cream cheese with powdered sugar and a small amount of crushed pineapple. Spread this layer on the cooled cake before adding whipped cream. This creates a thicker top layer and adds a slight tang that pairs well with the pineapple.
Homemade Cake Option
If you like baking from scratch, you can replace the box mix with your own yellow cake recipe. A basic yellow cake works well because it stays soft and absorbs the filling easily. You can also heat a small amount of pineapple juice with sugar to make a simple warm sauce to pour into the holes.
Pina Colada Style
To give the cake a tropical twist, mix a small amount of coconut milk or coconut extract into the pudding mix. Add toasted coconut on top for crunch and extra flavor. This creates a smooth coconut and pineapple blend.
Fruit Swap Ideas
You can change the flavor by switching the fruit layer.
- Mandarin oranges give the cake a brighter taste
- Cherry pie filling adds strong color and a richer fruit tone
Texture Boosters
These optional add ons give the cake a little crunch or extra sweetness.
- Toasted coconut flakes
- Chopped pecans or walnuts
- Maraschino cherries for color
These ideas allow you to shape the cake to fit your own style while keeping the process simple.
How to Store and Freeze Leftover Poke Cake
Keeping this cake fresh is simple if you follow a few clear steps. Proper storage helps the texture stay soft and keeps the pineapple flavor steady.
Storing in the Fridge
Place the cake in an airtight container so the topping stays firm and the filling does not dry out.
The cake keeps a good texture for up to five days. The flavor often becomes stronger after the first day as the filling settles deeper into the cake.
Freezing the Cake
Freezing works well if you want to save part of the cake for later. For the best results, freeze the cake before adding whipped cream.
Wrap the cake tightly in plastic wrap, then place it in a freezer safe container. It keeps its texture for up to two months.
When you are ready to serve it, let it thaw in the fridge until soft, then add the whipped cream topping.
Serving After Storage
If the cake has been chilled for a long time, let it sit at room temperature for a short period so the texture softens slightly. Add fresh pineapple or toasted coconut for a quick lift in flavor.
Fore more recipes follow me in Facebook, medium and Pinterest
Pineapple Poke Cake FAQs and Troubleshooting
This section answers common questions and helps you avoid simple mistakes. These tips guide you toward a smooth and consistent result every time.
Can I use fresh pineapple ?
Fresh pineapple has stronger enzymes that can change how the cake sets. Canned pineapple is the better choice because it gives steady texture and predictable moisture.
How do I make this cake gluten free ?
Use a gluten free yellow cake mix and check the pudding label to confirm it fits your needs. The rest of the ingredients work the same. The texture stays soft and moist with the filling.
Can I use heavy cream instead of Cool Whip ?
Yes. You can make your own whipped cream by beating cold heavy cream with a small amount of sugar until it forms soft peaks. Spread it on the cooled cake just like Cool Whip.
Why is my cake not absorbing the filling ?
The cake might have cooled too long. The filling settles better when the cake is still warm. Next time, make the holes a little deeper and pour the filling slowly.
What if the topping looks watery ?
This can happen if the pineapple was not drained well. Make sure the fruit for the topping is drained before mixing it with the whipped cream.
Tips for high altitude baking ?
Follow the instructions on your cake mix for high altitude adjustments. This often includes a slight reduction in oil or a small increase in water. Baking time may also shift slightly, so check the cake a little earlier.
How do I keep the topping from spreading when slicing ?
Chill the cake long enough for the topping to firm up. A clean, sharp knife helps you get neat slices.