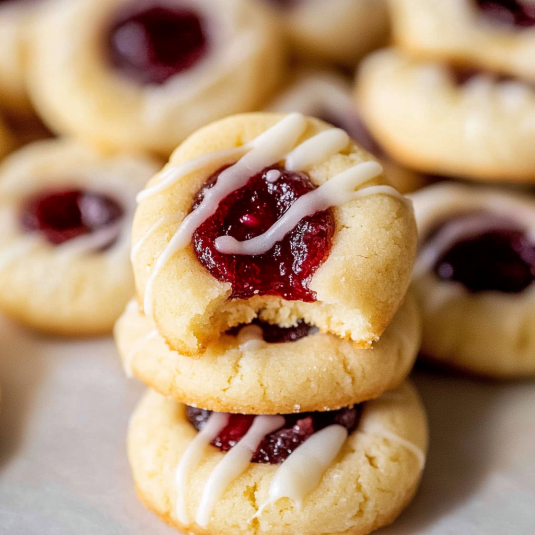
Raspberry Thumbprint Cookies have a buttery, crumbly, short texture that feels rich but light. Each bite melts in your mouth without feeling heavy. The cookie base stays tender, while the raspberry center adds a bright pop of flavor that balances the sweetness.

These cookies have a long history. In Sweden, they are called Hallongrotta, which means “raspberry cave.” The name comes from the small well in the center that holds the jam. This classic idea has stayed popular because it works every time and tastes familiar in the best way.
Table of Contents
Why This Recipe Works
This recipe focuses on simplicity and results. Each choice supports texture, speed, and reliability.
- Minimal ingredients
You only need seven basic pantry staples. No specialty items. No extras that change the texture. - Fast from start to finish
These Raspberry Thumbprint Cookies go from mixing bowl to table in under 30 minutes. That makes them great for last minute baking or busy holiday days. - No chill needed
Many recipes require chilling to stop spreading. This dough is firm and balanced, so you can roll and shape it right away without cracking. - Strong structure after baking
Once cooled, the cookies hold their shape well. You can stack them on a platter or pack them for gifting without breakage.
This balance of speed, structure, and flavor is what makes these soft and buttery thumbprint cookies reliable every time.
The Secret Pro Tips
These tips fix the most common problems people report with thumbprint cookies. Small details make a big difference.
- Stop cookies from spreading
Measure flour with a kitchen scale if possible. Too much or too little flour changes how the dough behaves. Also, never place dough balls on a warm baking sheet. Let sheets cool between batches. - Avoid cracks when pressing
Roll each dough ball between your palms until the surface looks smooth with no lines. Smooth dough presses cleanly and keeps its shape in the oven. - Create a clean indentation
Use the rounded back of a teaspoon instead of your thumb. This gives a neat, even well that looks bakery style and helps the jam stay centered. - Fix thick jam
If your raspberry jam feels stiff, warm it in the microwave for five to ten seconds. Stir until smooth and fluid. This makes filling faster and helps the jam settle evenly as it bakes.
These simple steps keep the cookies neat, sturdy, and visually appealing every time.
Step by Step Recipe Guide
Follow each step in order. Each action builds structure and flavor.
- Preparation
Preheat your oven to 350°F for soft centers. Use 375°F if you prefer slightly crisp edges. Line baking sheets with parchment paper and set aside. - Creaming the butter and sugar
Place softened butter and sugar in a mixing bowl. Beat until pale and fluffy. The mixture should look light and slightly airy. This step sets the base texture. - Adding wet ingredients
Mix in the egg yolks and vanilla extract. Blend just until smooth. Scrape down the bowl to keep the dough even. - Incorporating dry ingredients
Add flour, salt, and cornstarch gradually. Mix on low speed until a soft dough forms. The dough should feel firm but not dry. - Shaping the cookies
Scoop dough into one tablespoon portions. Roll each piece into a smooth ball. Roll in granulated sugar if using. Place on the baking sheet and press a well in the center using the back of a teaspoon. - Filling the centers
Spoon raspberry jam into each indentation. Fill close to the top so the jam sets neatly during baking. - Baking
Bake for 11 to 15 minutes. The edges should turn lightly golden while the centers stay pale. Let cookies rest on the sheet for a few minutes before moving to a rack to cool.
Each step keeps the cookies soft, stable, and visually clean once baked.
Print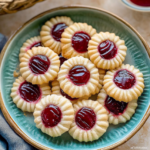
Raspberry Thumbprint Cookies
- Total Time: 25 minutes
- Yield: 18 cookies 1x
- Diet: Vegetarian
Description
Soft, buttery Raspberry Thumbprint Cookies with a tender short texture and a bright jam center. Quick to make, easy to shape, and perfect for holidays or sharing.
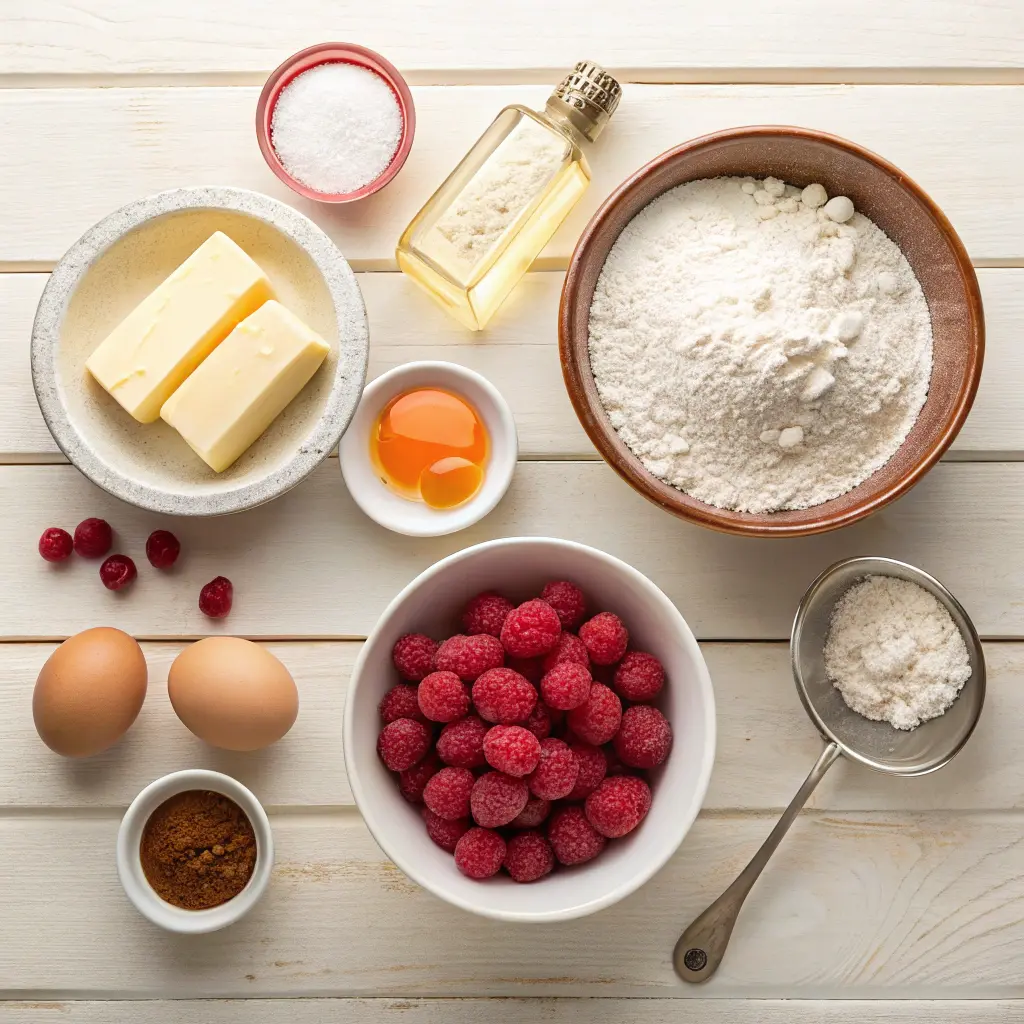
Ingredients
- 1 cup unsalted butter, softened
- 2/3 cup granulated sugar
- 2 large egg yolks
- 1 teaspoon vanilla extract
- 2 1/4 cups all-purpose flour
- 1/2 teaspoon salt
- 1 tablespoon cornstarch
- 1/2 cup raspberry jam
- Extra granulated sugar for rolling (optional)
Instructions
- Preheat the oven to 350°F and line baking sheets with parchment paper.
- Cream the butter and sugar together until pale and fluffy.
- Mix in the egg yolks and vanilla extract until smooth.
- Add the flour, salt, and cornstarch and mix on low speed until a soft dough forms.
- Scoop dough into one tablespoon portions and roll into smooth balls.
- Roll dough balls in granulated sugar if using and place on the baking sheet.
- Press a well into the center of each cookie using the back of a teaspoon.
- Fill each indentation with raspberry jam.
- Bake for 11 to 15 minutes until edges are lightly golden.
- Let cookies cool on the sheet for a few minutes before transferring to a rack.
Notes
Roll dough balls until smooth to prevent cracks. Use a cool baking sheet for each batch to avoid spreading.
- Prep Time: 10 minutes
- Cook Time: 15 minutes
- Category: Dessert
- Method: Baking
- Cuisine: Swedish American
Nutrition
- Serving Size: 1 cookie
- Calories: 165
- Sugar: 12g
- Sodium: 53mg
- Fat: 8g
- Saturated Fat: 5g
- Unsaturated Fat: 2g
- Trans Fat: 1g
- Carbohydrates: 22g
- Fiber: 1g
- Protein: 1g
- Cholesterol: 28mg
Filling Variations
One of the best things about Raspberry Thumbprint Cookies is how easy they are to change. A simple swap in the center creates a new flavor without changing the dough.
- Classic fruit options
Strawberry jam gives a sweeter bite. Apricot adds a mild tang. Sour cherry brings a bold contrast that pairs well with the buttery cookie. - Gourmet fillings
Salted caramel spread adds a rich, smooth center. Passion fruit curd brings a bright, slightly tart flavor that feels special but still simple. - Holiday favorites
Leftover cranberry sauce works well for festive baking. It creates Cranberry Thumbprints that fit right in on holiday platters. - Flavor twists in the dough
A small amount of almond extract adds depth and pairs well with raspberry. Lemon zest adds a fresh note that lightens the overall flavor.
These variations help you use what you already have while keeping the cookies interesting and crowd friendly.
Storage and Freezing
These cookies store well, which makes them great for planning ahead.
- Room temperature storage
Once fully cooled, place the cookies in an airtight container. Keep them at room temperature for up to one week. Layer with parchment paper to protect the jam centers. - Freezing the dough
Shape the dough into balls and press the indentations. Place them on a lined baking sheet and freeze until firm. Transfer to a freezer bag. When ready to bake, add the jam just before placing them in the oven. - Freezing baked cookies
Baked Raspberry Thumbprint Cookies freeze well. Let them cool fully, then store in a freezer safe container for up to two months. Thaw at room temperature before serving.
This storage flexibility makes these cookies ideal for early holiday prep or busy baking schedules.
Conclusion
Raspberry Thumbprint Cookies are simple, reliable, and easy to share. The dough comes together fast, the texture stays buttery and short, and the jam center adds color and flavor that people notice right away. These cookies work just as well for a quiet baking day as they do for busy holiday trays.
I would love to know how you make them your own. What filling do you reach for first, and do you add any flavor to the dough? Share your favorite combo in the comments so others can try it too.
If you enjoy no chill cookie recipes, take a look at other holiday cookies on the site. You may also like the Christmas cookie ideas or other quick baking recipes that fit into a tight schedule.
FAQs
How do I keep my thumbprint cookies from spreading?
Use the correct amount of flour. Weighing flour gives the most steady results. Also, place dough only on cool baking sheets. Warm pans cause early melting before the cookies set.
Why are my thumbprint cookies cracking when I press them?
Cracks usually mean the dough surface is uneven. Roll each dough ball until it looks smooth with no lines. Press slowly with the back of a teaspoon instead of a finger for better control.
Should I fill thumbprint cookies before or after baking?
Fill them before baking. Adding jam first allows it to warm, settle, and set as the cookies bake. This helps the filling stay in place once cooled.
How should I store raspberry thumbprint cookies?
Store cooled cookies in an airtight container at room temperature for up to one week. Place parchment paper between layers to protect the jam centers.
Can thumbprint cookies be frozen?
Yes. You can freeze the shaped dough before baking or freeze fully baked cookies. Both methods work well and make holiday prep easier.
What is another name for thumbprint cookies?
They are also known as Hallongrotta in Sweden. The name means “raspberry cave,” which describes the jam filled center.